While Photoshop has become a household name and even used as a common verb, the term is usually vaguely defined as fixing up an image. While Photoshop is an industry standard photo editing software, and probably one of the most powerful tools out there, not all images require a heavy duty tool just to tweak or enhance the image. It’s comparable to always rolling out your $30k Snap-on tool chest with all shelves loaded with tools just to replace the battery on a toy that needs a Philips screwdriver.
Most of you have used some sort of photo editing software on your smartphone, allowing you to change settings from exposure, color temperature, saturation, contrast, sharpness, to a few other extra special effects. These tools are becoming a standard workflow for even the casual smartphone photographer before they post anything online. Even with these skills, Photoshop still intimidates the average user because of how complicated it seems. The average user only needs a simple multi-tool to get the job done, not a mechanic’s tool chest. Here’s where Adobe Lightroom plays a big role in my workflow.
Lightroom is not by any means am amateur tool, it’s an incredibly valuable part of my workflow and can do things Photoshop was not meant to do. Let’s use cooking as an analogy. Photoshop is like using a chef’s kitchen to create a meal using raw ingredients and professional kitchenware, if you know how to use it. Lightroom is like ordering a meal made from scratch but ordered through a touch screen system like at a QuickCheck or Wawa. Lightroom also has the ability to batch edit multiple photos at once to save an incredible amount of time.
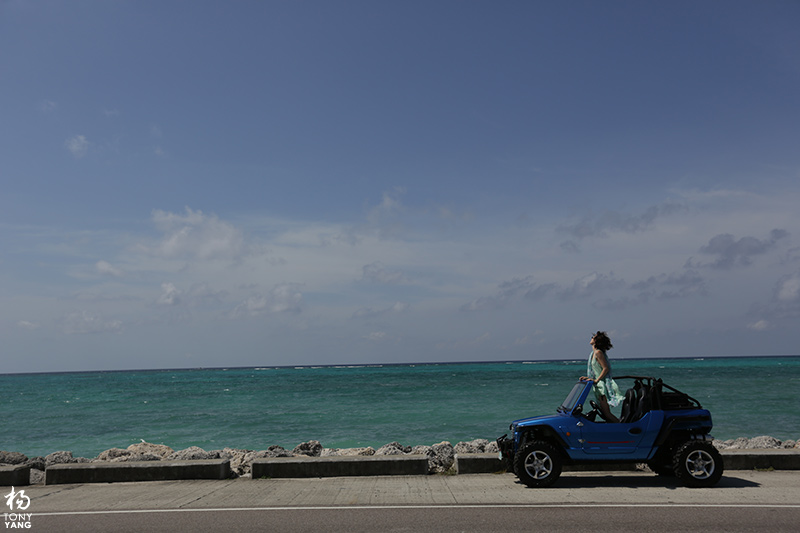
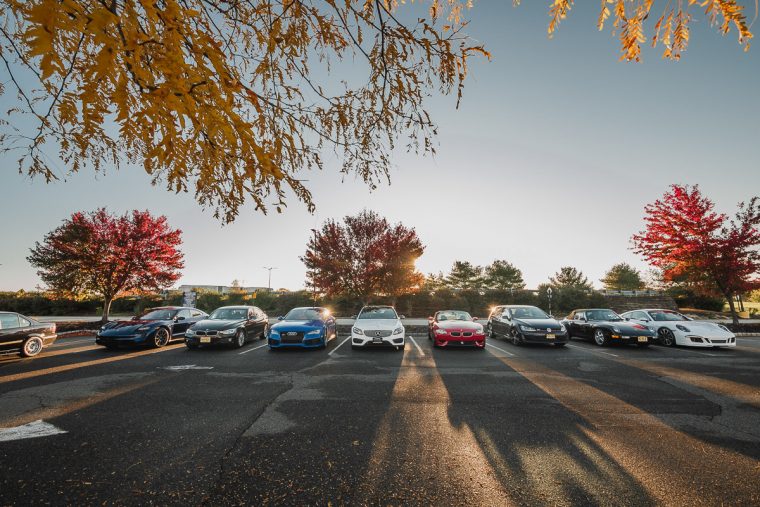
Let’s take a look at the power of Lightroom with a typical vacation photo. Lightroom is mostly just a bunch of sliders that the user can experiment with and easily learn over time. If you can learn to use a smartphone photo editor, you can learn this powerful tool. The best part is, you can save your presets, and edit batches of photos all at once.
Original Photo
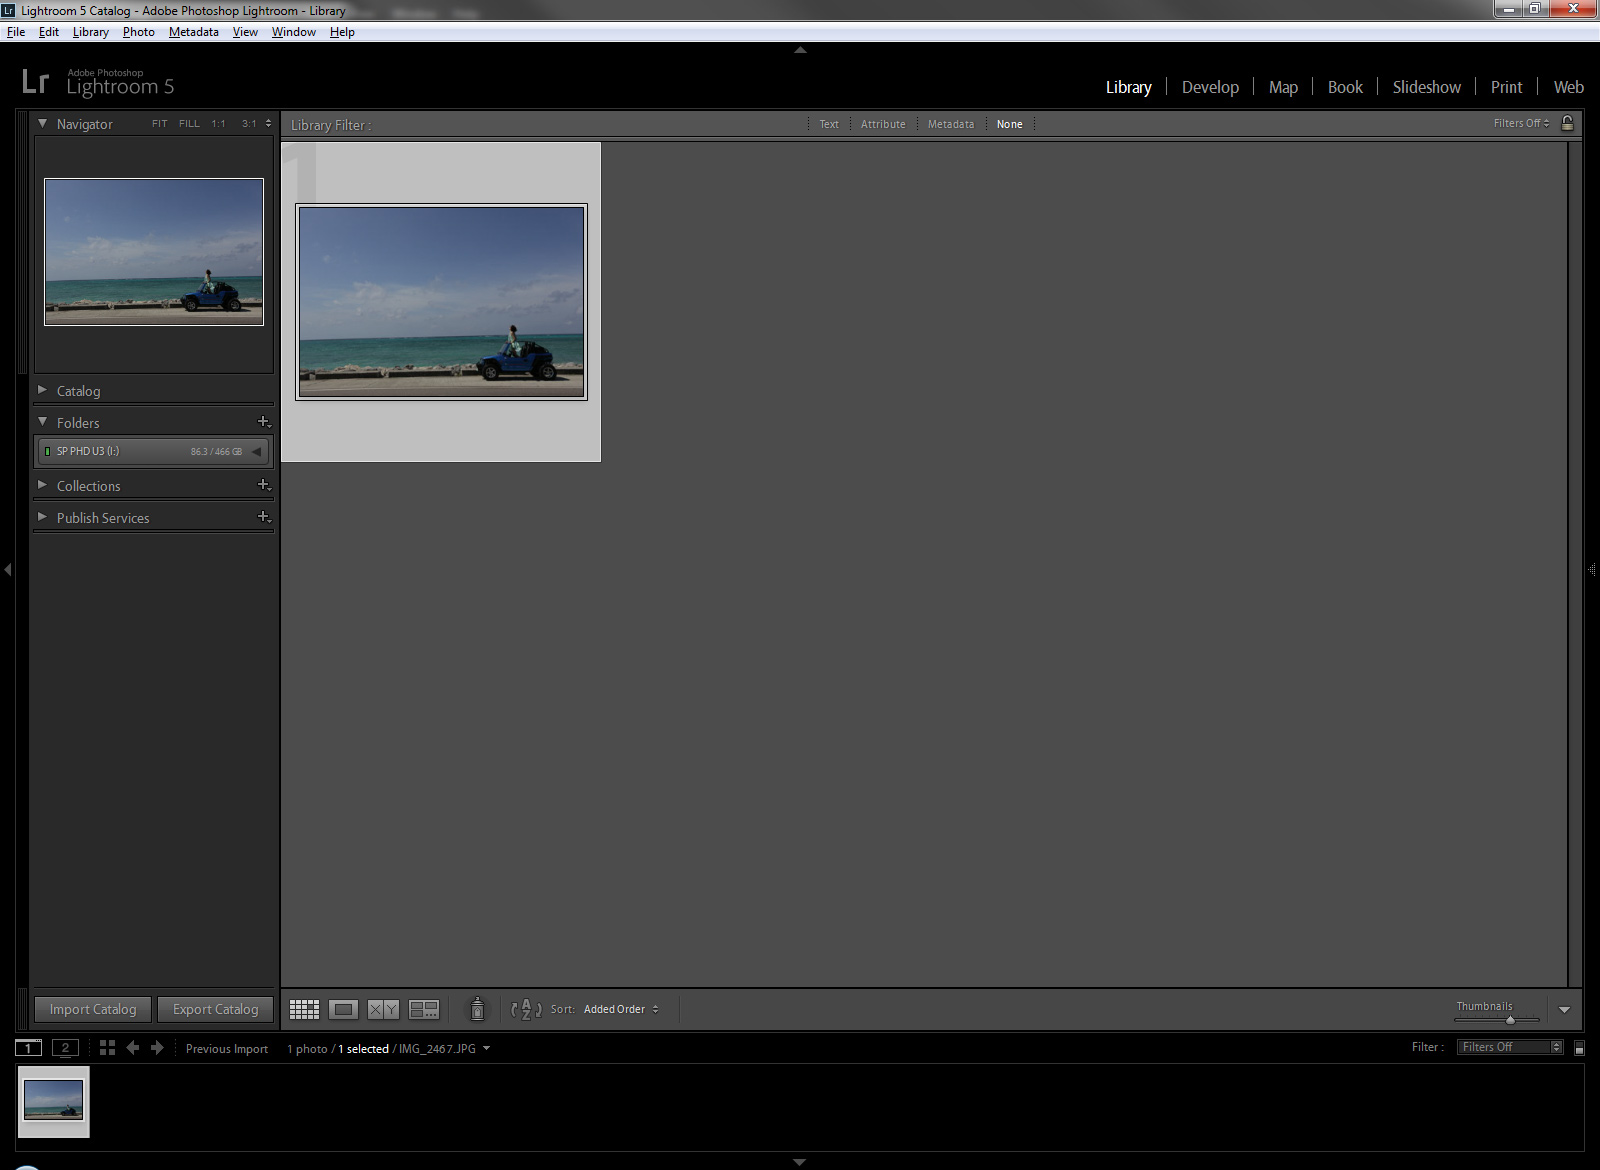
Imported into Lightroom
Lightroom has many different methods to catalog your photos. You can shoot tethered directly into Lightroom, or import from a memory card, or just drag and drop files and folders.
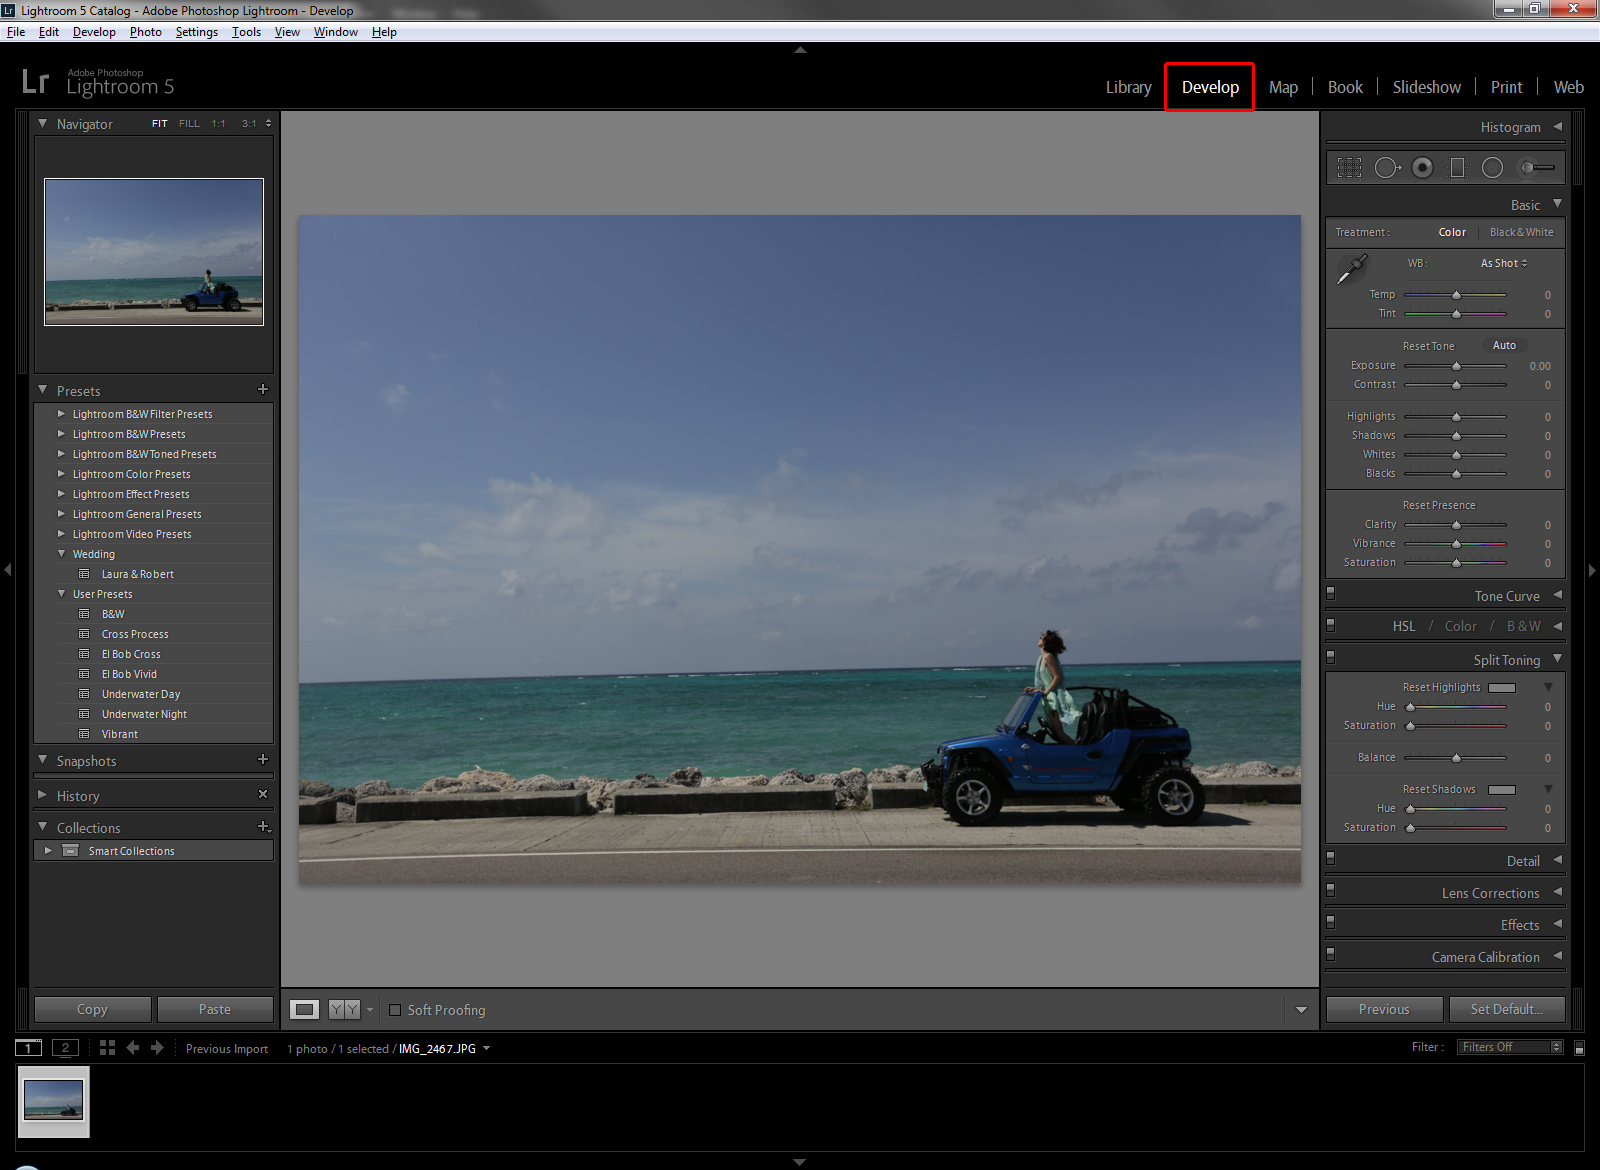
Develop
Once the image is in Lightroom catalog, just click on the Develop button on the top right to go into editing mode. Be sure to select the photo you want to edit from the bottom row of thumbnails. You will notice presets on the left, and the actual editing tools on the right.
Begin Editing
I always prefer to view side by side comparisons (bottom left toolbar), and I like seeing smaller images to get a better overall feel of the mood I’m setting. You can always click on the image to zoom in to refine the details such as sharpness.
You will see all the settings you need to experiment with on the right side. If you really want in depth knowledge of what each slider does, you can search for it online. The photo here is a perfect example of what I normally do.
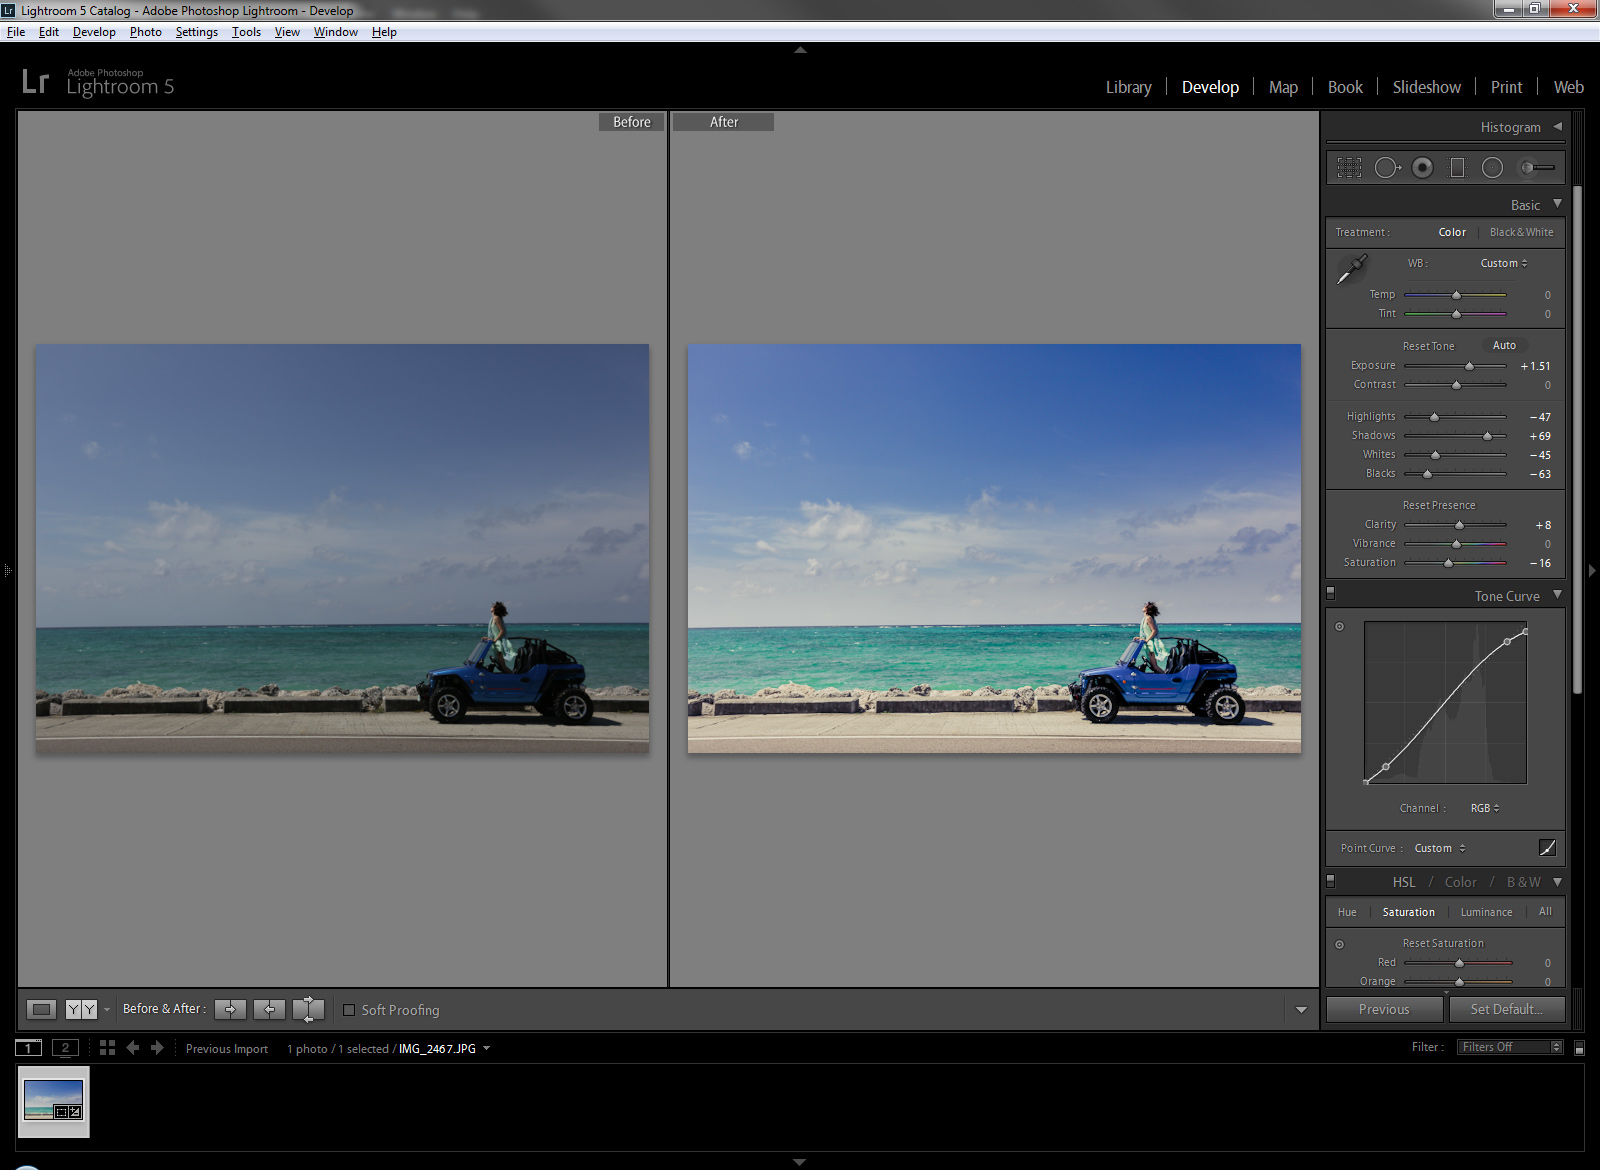
Settings
Exposure This is the first and easiest way to improve your image, just by correcting the brightness of the image. Use + or – shortcuts on the keyboard.
Highlights Recover detail from the bright areas of the photo, such as clouds and over exposed areas. Here I recovered bright areas of the cloud after increasing overall exposure.
Shadows Recover detail form the dark areas of the photo, such as shadow areas. Here I recovered shadow areas from the car.
Whites Set where the brightest whites start in the image. Similar to contrast.
Blacks Set where the darkest blacks start in the image. Similar to contrast.
Clarity Increases color and edge sharpness. Use sparingly, especially on people.
Vibrance/Saturation Adjust the saturation of the photo. I usually prefer to desaturate an image and add my own color toning to set a mood.
Tone Curve The custom curve allows me to crush the contrast slightly but still set the points at where I want the photo to be brighter or darker.
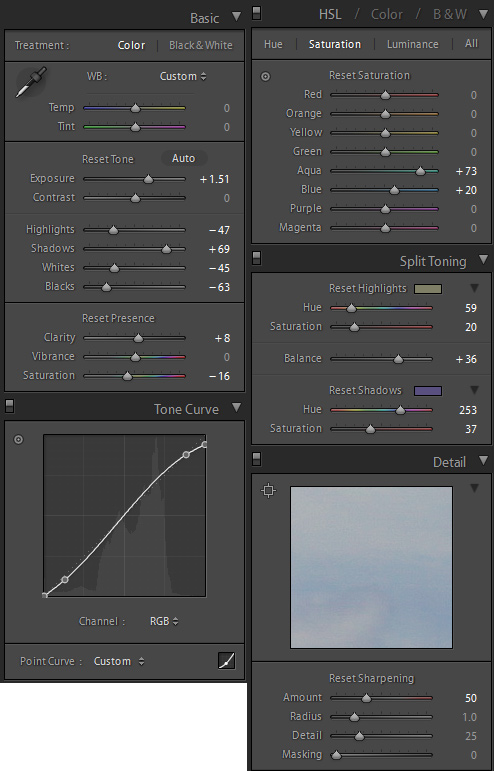
HSL/Color/B&W Adjust individual color channels in the photo. Here I increased the blue saturation for the sky, car, and water.
Split Toning This tool allows cross process effects. I usually like to add a yellow highlights, and blue or purple shadows. Don’t go overboard with cross processing effects. The trick is to not notice it immediately when looking at a photo.
Detail Here you can set the sharpness of the photo.
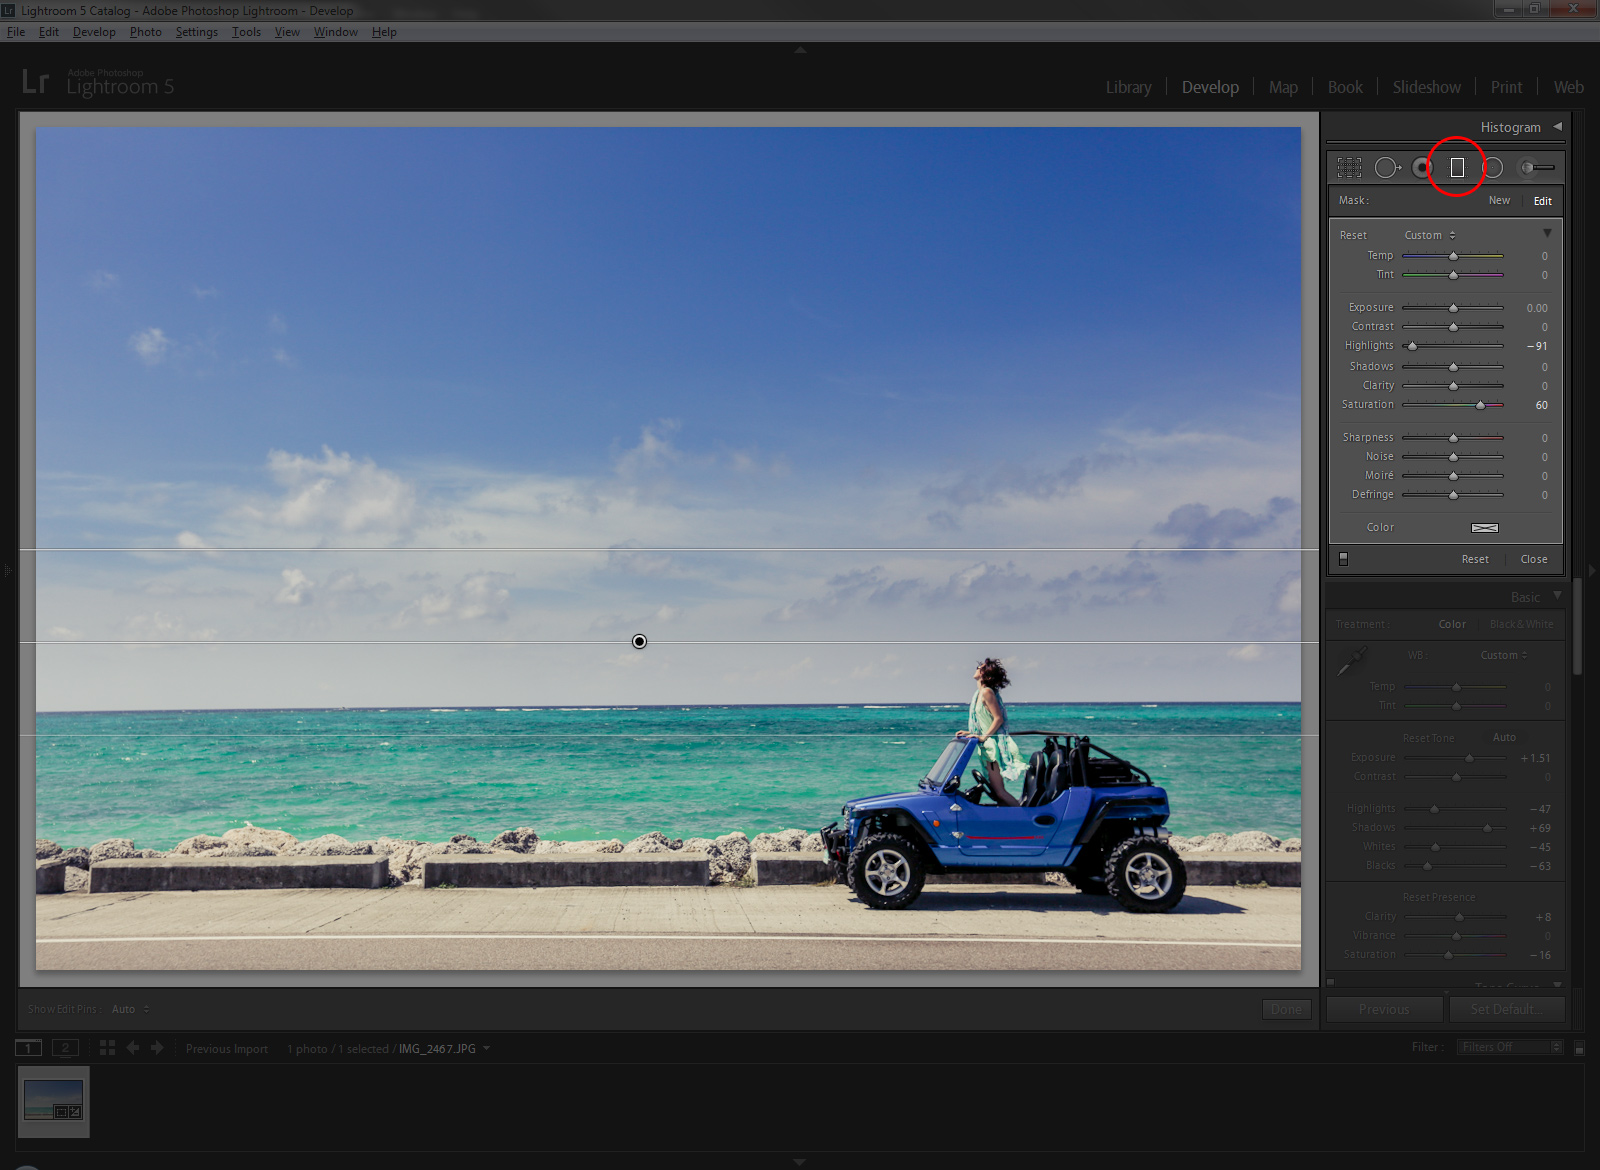
Graduated Filters
This tool plus the Radial Filter tool allows you to edit portions of the photo. I created a graduated filter from the sky down towards the horizon. I decreased the Highlights and increased Saturation to really bring out the sky.
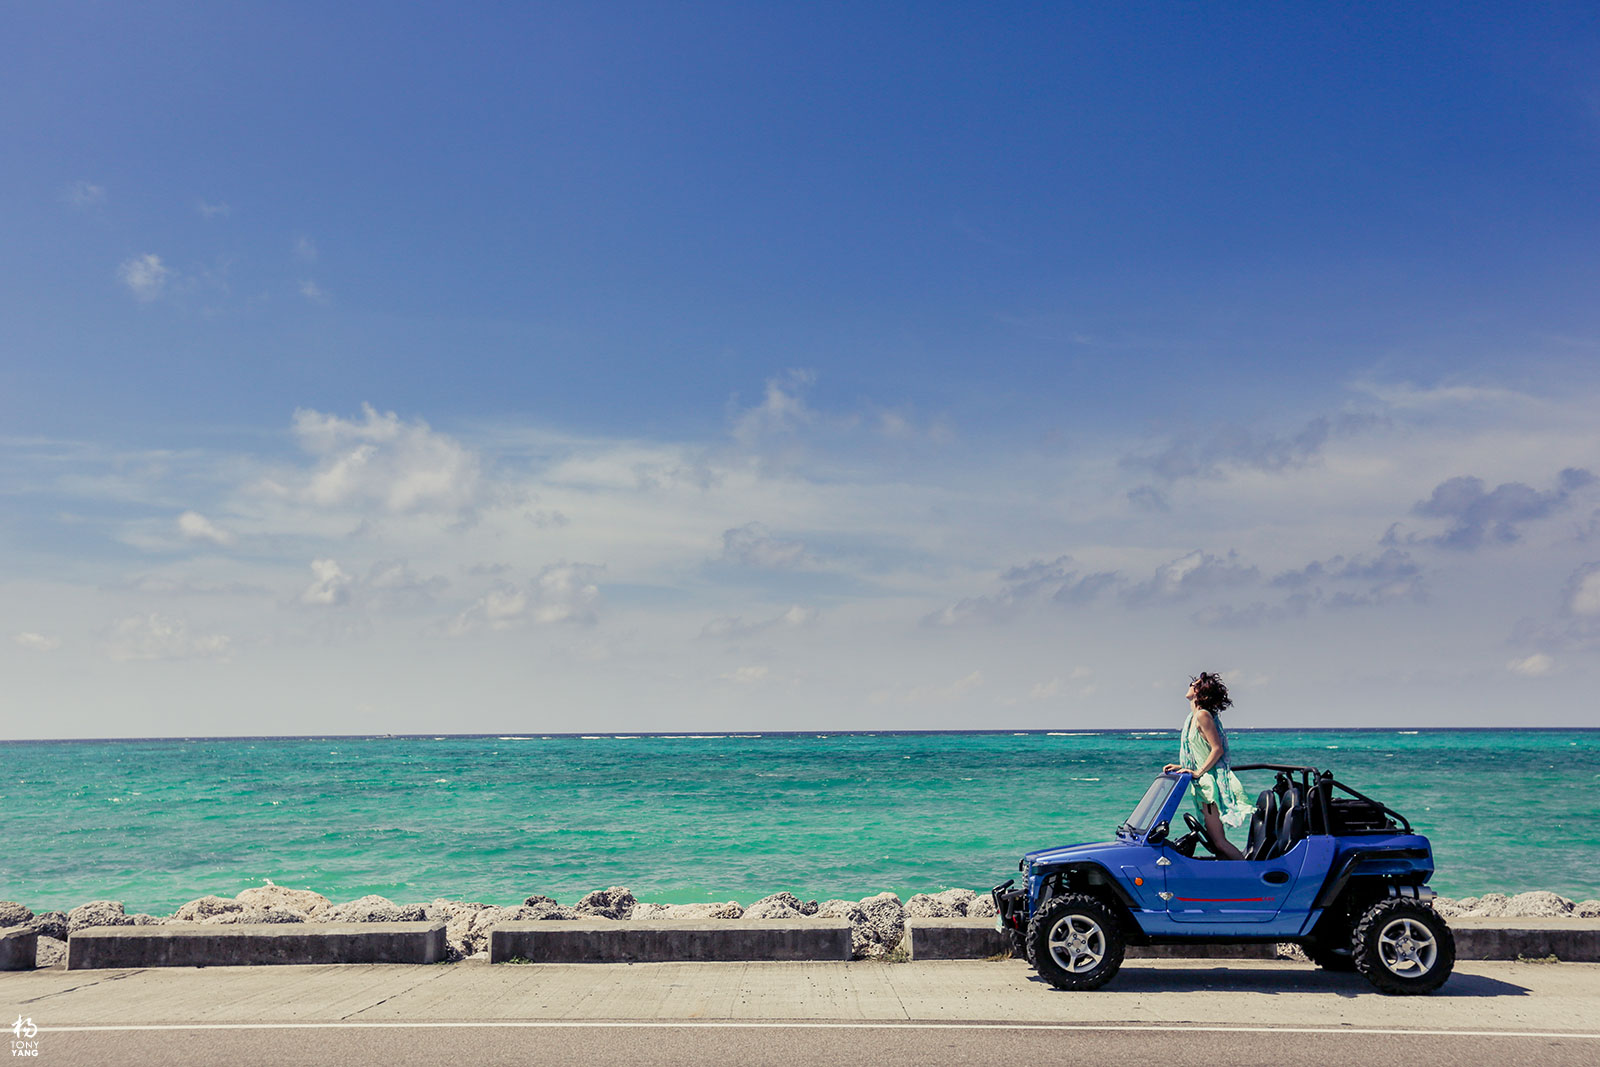
Final
Don’t forget to crop and rotate your images. Check your horizon lines, check your framing. When you’re done, go back to Library mode and export your photo.

Are you saying that LR is just a simple screwdriver? 🙂
cool